The fun part first; Tiling is finished and we painted the bathroom blue! We ordered a few samples of Earthborn Claypaint for the bathroom and ultimately went with Toy Soldier for a dark midnight blue color. Which looks amazing and dramatic against the bright shinning tiles!
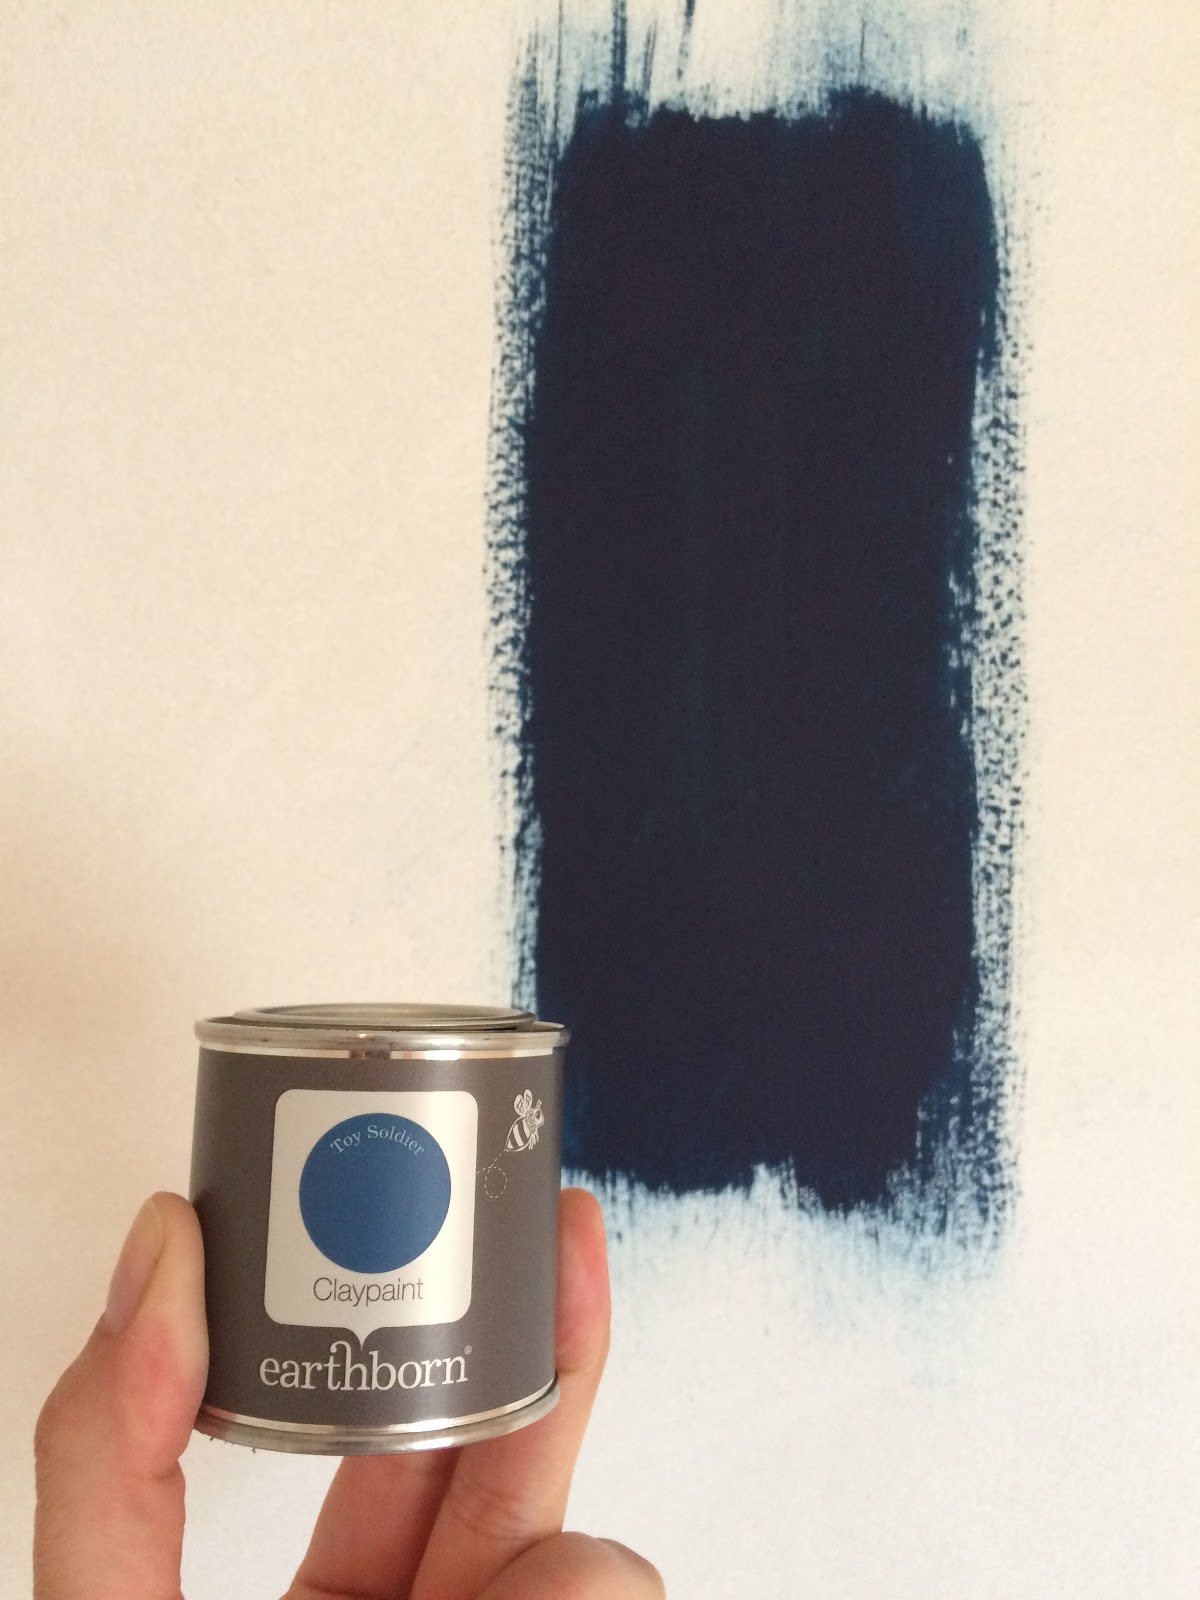
Something I like about these specialty paint lines is actually the smaller color selection, so I can't be paralyzed by to much choice (today's theme). That is not to say they don't have a good selection, its just way more manageable than the thousands of colors and shades to be found at certain big box stores. I love this color, it came out beautifully rich and dark, it has a sumptuous, luxury feel to it.

Toy soldier is the dark swatch on the left.
One of the negatives to long distance DIY is having to choose finishes I haven't actually seen or touched. This is frustrating for both of us, for instance, it took me weeks to choose the wall tiles for the bathroom. I felt the need to look at every possible tile option online, while trying to envision them in the space (talk about paralyzed by choice!)

Ultimately we went with these beautiful Winchester tiles, handmade in England, in a gorgeous white called Papyrus. The tiles are actually a few different shades of white, they are an extra long subway tile and we opted to use white grout as well.

Pisa tiles for the floors.
In stark contrast to the difficulty I had in choosing the wall tiles, are the floor tiles. Last June when we realized the floor would have to be tiled, Matt and I went together and looked at some options. In about 20 minutes we picked three samples, brought them home, and in another 10 minutes, we had ordered our favorite, so easy.
It was a huge relief, to both of us I think, to realize that we were on the same page and that all we needed was to be in the same place at the same time. After all the delays, and dragging of feet on choosing finishes, this really put things into perspective.

So the floors were leveled and installation began again, including the shower tray, finally! Matt sent me lots of progress shots of this, it was an exciting time! I have tried my hand at tiling on a much smaller scale than this and it still took several hours, I can only imagine that I would still be working on this if I'd taken it on myself.. tricky since I don't live there. So glad we hired a professional, he did an amazing job.

In the shower we decided to build in a little shelf/bench, this happened while I was away, but it came out just as I envisioned. You can see the unfinished shelf here and the pipes before the tiles went up. We had already grouted the other walls before tiling the shower, (delayed while waiting to install the shower tray, which was delayed by the flooring issues, a tangled web I know) so that by the time the herring bone wall went up we had already committed to white grout.

Before grout.
I got a little worried about the white on white with the tile and grout. Before grouting the pattern was in high contrast, afterwards its much more subtle. I've decided I like it and it opened the way for us to do something really dramatic with the paint color, otherwise I probably would have stuck to "safe" colors, like grays and whites.

After grout, everything shines like ice and the natural tiles reflect the light in a rippled textured pattern. As the tiling neared completion, the room looked amazing, it feels so high end, so luxurious. I can't wait to get in there with a candle and a plant and call it done.

Gorgeous right? And a huge space! There were some side effects to all this luxury though. Remember the story of When you Give a Mouse a Cookie? Well when this mouse saw the beautiful tile it made other parts of the room look worse in comparison. Most notably the trim, which we had to strip, clean, and repaint. It also lights a fire under me to bring the rest of the house up to par.
Next time, Fixtures!
-Nikki
It looks SO nice and I love the way you chose to do herringbone on one wall and the horizontal tiles on the other!
ReplyDeleteThank you! I'm glad you like it!
DeleteHi Nikki, Been keeping up with this all along but must be doing something wrong when I comment. I am a bowled over grandma seeing all the wonderful things you and Matt have done. Please don't stop sending pictures. Love you.
ReplyDeleteMargie