The downstairs floors have been re-done and they are looking very lovely. Under the linoleum we had an uneven concrete slab and quarry tiles, all of which was sitting on dirt and rubble.

Matt had to do a lot of digging out to safely remove all the bad old stuff and prepare for laying in the new sub-floor. 

They dug down to dirt, literally, that is a dirt floor in the kitchen, and living room.. and dining room... But soon enough things started going back in to construct the new sub-floor.

The new sub-floor consists of layers of foam glass insulation with limecrete on top meant to be vapor permeable. It was fun for me to see these progress shots each evening.. especially because I wasn't living in it.

The whole process took them several days, but resulted in a gorgeously level new floor which should also help stop the rising damp from destroying our plaster walls, because at the same time as all this flooring fun...

...Most of the downstairs plaster was being redone. To deal with that same rising damp issue, the bottom half of the walls had to be demo'd and re-plastered. I was very glad to not be around for all this, I know the disorder would have made me go a little mad.

The stone for the new floors is an Aged-Heritage-Limestone and before deciding we looked at several other samples. Naturally I spent an entire afternoon moving the samples around to different rooms to see how they would look. Below you can see my three samples, the linoleum we started with, as well as the ugly hearth stone, and the partially hidden mess that is the old cracked tile under the old wood burner.

I had this vision of bright whites/ivories everywhere in the house, but in the end I was won over by the ripples and texture of the gray limestone. They look something like river stones and what I really like is the fact that they are common around Tewksbury. Once I started looking I saw the texture and color used in several other old buildings and on some of the sidewalks!
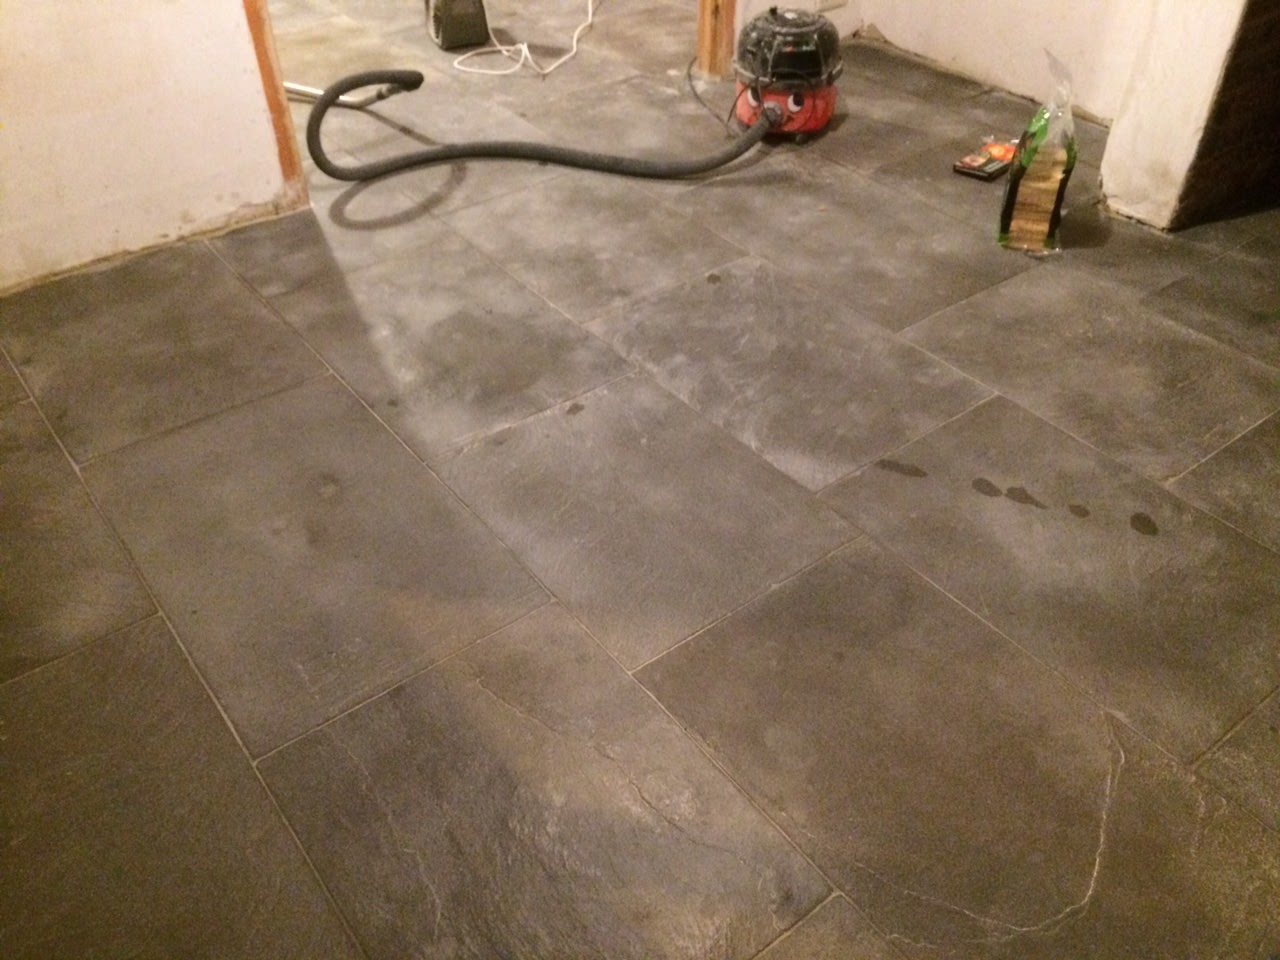
We are still trying to decide how to seal it though, the options are a 'wet-look' or a 'dry-look'. Above it is dry (very natural, maybe a dusted look to it) and below is right after mopping (slightly glossy, shiny). Which would you choose?

If you compare this photo of the finished stone floor in the kitchen to the earlier process photos of the same space you can really see how far we've come!
Now the downstairs is nearly finished structurally and a post on the kitchen is coming soon. Walls have been whitewashed, the furniture moved back into the space, and I've been obsessing over rugs. Now, final flooring thought this week, check out my new Kilim area rug!

Thank you Ebay for existing! This is a colorful over-sized beauty from the 1940's all the way from Istanbul and I am so in love. It currently is living with me in Maryland, but I can't wait to see it against those stones in the cottage! One side is very faded for a more muted look and the other is still incredibly vibrant.
- Nikki